 |
|||
|
Page Title:
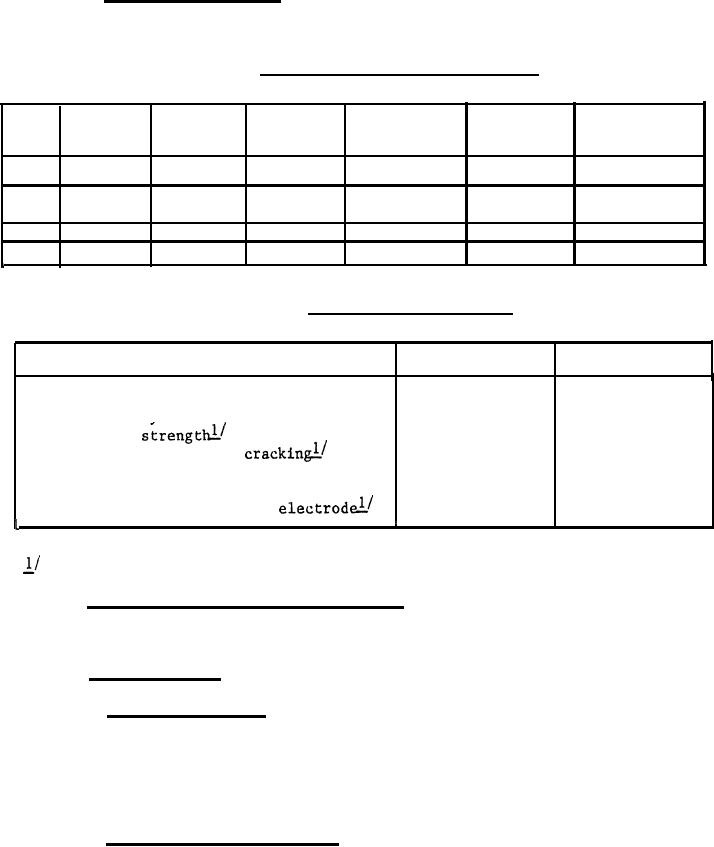
Table V. Summary of required weld tests. |
|
||
| ||||||||||
|
|  MIL-E-19141D
4.2.5 Inspection criteria. The samples selected in accordance with 4.2.4
shall be subjected to the examination of 4.3, the weld metal tests specified in
table V, and the tests specified in table VI.
TABLE V. Summary of required weld tests.
Macro-
Surface
Requirements
Procedures
examination
soundness
Chemical
Hardness
Size
Table IV
4.4.7
x
All
3*7
4.4.5
x
All
4.4.6
3.4
4.4.5
x
All
3.5
4.4.5
x
All
Summary of other tests.
TABLE VI.
t
Requirements
Procedures
Tests
3.3
4.4.2.1
Diameter and length of core wire
3.2.2
4.4.2
Concentricity
3.2.3
4.4.3
Dielectric
3.2.4
4.4.4
Covering, flaking and
4*4.8
3.2.9
Covering moisture
3*3.4
4.4.9
Alloy identity - core wire
4.4.9
3.3.5
Alloy identity - finished
I
I
When specified (see 6.2.1).
4.3 Visual and dimensional examination. Each of the sample electrodes
selected in accordance with 4.2.4 shall be examined to verify conformance with
all requirements which do not involve tests specified in 4.4.50
4.4 Test procedure.\
4.4.1 Welding equipment. Welding machines used for supply power for
testing electrodes shall be variable voltage direct current (d.c.) motor-
generator type, variable voltage d.c. rectifier welder, or a.c. welding trans-
former conforming to NEMA EW 1. The power source shall be of sufficient rating
to supply current demanded by the electrode type and size under test. Open
circuit voltage shall not exceed 80 V.
4.4.2 Concentricity measurement. Measurement of the prepared electrode
is made with the aid of a supplemental piece of 1/4 by l/4-inch key stock
(or equal) 2 + l/16-inch long. The key stock shall be placed symmetrically
across the groove and, using any instrument, the core wire diameter plus the
thickness of the cover on one side of the electrode plus the thickness of the
key stock shall be measured. For instruments using a base for zero reference,
the base where it is in contact with the electrode during measurement shall be
9
|
|
Privacy Statement - Press Release - Copyright Information. - Contact Us |