 |
|||
|
Page Title:
Table I. Load Application Points and Prestress Loads |
|
||
| ||||||||||
|
|  MIL-H-85042A(AS)
3.7 Prestressing of hooks. If required, to meet the dynamic loads (see 3.6),
each hook, after final processing, may be subjected to a prestress load level
(see 4.3.1 and 6.5) as determined and recommended by the contracting
activity. Determined prestress load values shall be considered valid only for
the particular heat of steel used in the manufacture of those hooks subjected
to prestress determination. Any subsequent heat shall require determination
of a new value. In the prestressung operation, the hook is to be held in a
test fixture as specified in 2.1. This results in the load on the hook being
concentrated on the lug bearing surface horizontally from the hook pivot hole
centerline as shown in Table I. The prestress load on the hook shall be
gradually increased for a period of 1 minute, held at the actual prestress
load for a minimum of 1 minutes and a maximum of one and one half minutes, and
gradually unloaded over a period of 1 minute. Following prestressing, the
hook shall be subjected to the magnetic particle inspection specified in
4.6.2. Type IX and X hooks shall be prestressed as shown in Table 1.
3.8 Workmanship. The workmanship displayed in fabrication and assembly of
the hooks shall be such as to assure, within design limitations, the ability
-
Of the hooks to meet their performance requirements under all applicable
environmental conditions specified herein. Unauthorized repair, welding,
heavy burns, or parts assembled by introduction of high stresses not
prescribed in the drawings, are typical signs of inferior workmanship and
shall be cause for rejection. The standards of workmanship exhibited in the
approved first article sample, subject to any qualification stated in the
government's notice of approval, shall be determinative of the requirements of
the contract relative to workmanship.
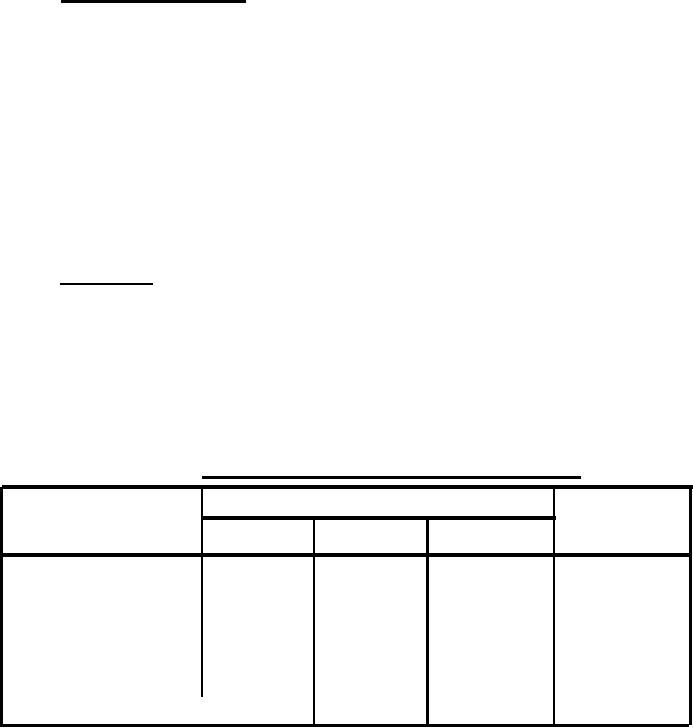
LOAD APPLICATION POINTS AND PRESTRESS LOADS.
TABLE I.
1
DISTANCE "X" IN INCHES
PRESTRESS
LOAD
HOOK
DYNAMIC
PRESTRESS
(POUNDS)
ULTIMATE
TYPE
0.584
0.584
0.584
Type II
0.800"
0.800
0.800
Type III
0.737
0.737
0.737
20,600
Type IX
0.737
0.737
16,500
0.737
Type X
0.437
0.437
0.437
Type XI
The values of Table I have no tolerances because they are direct functions of
the test fixtures and the "X" distances will be properly met if the
requirements of 4.5 are met.
1 See figure 1 for illustration of "X" distance
4
|
|
Privacy Statement - Press Release - Copyright Information. - Contact Us |